
A banner is the top rectangular header for a blog/website and can also be used in advertising. As far as I can tell, buttons and badges are both the little square images you see on the sidebar that are sometimes advertisements, or often are a way for others to put a link to your blog on their blog. If there's a difference between a button and a badge, I welcome the correction.
I even have buttons and a banner now! Most of mine, including the top banner, were made by a friend in the biz, but I made the third button down, the one that looks like this:
Making a button using a photo turns out to be easier than I thought, so I'm sharing how I did it today and linking up with some Tuesday blog carnivals (see list at bottom of post if interested in which ones). Obviously you can use Photoshop Elements, Illustrator, etc. to make your button, but if you know that, then you don't need my help, do you?
You can find button-making instructions in lots of places; just Google "make a blog button." I used three main sources to educate myself:
- Blogging with Amy is a great resource for bloggers on pretty much every blogging subject for which I've needed answers. Me no talky goody today. Blurg. Anyway, her instructions are great, if a little wordy. Also, she uses Picnik, and word on the street is that it will soon be gone, so...
- I opted to use Paper Heart Camera's instructions that offered another free photo editing service, Photobucket. She does a great job of simplifying the process for putting the HTML code grab box under the button. But as for making the button, she basically begins by saying "So, you take your 125 x 125 pixel square, and then..." Yep, I'm lost already.
- My last resource, WikiHow, includes ideas specifically for making banners and is where I found out about BannerDroid, a good resource if you are making flash video banners but not as good for straight-up jpg/gif images. Use Photobucket instead, or else make your banner in BannerDroid and then right-click and save as an image.
How to Make a Button
- Find the photos you want to use, and put them in their own virtual folder somewhere easy to find, like your desktop. Trust me, it's annoying to keep having to look for them.
- Crop photo into a square. If this is a step you need help with, I'm your gal. See below.
- Use a service like Photobucket to resize image and add text, border, and other cool features. See more below.
- Copy Paper Heart Camera's html code into your blog using her instructions.
- Stand back and admire your handy-work. You made a button!
Step-by-Step Button-Making Tutorial, with pictures
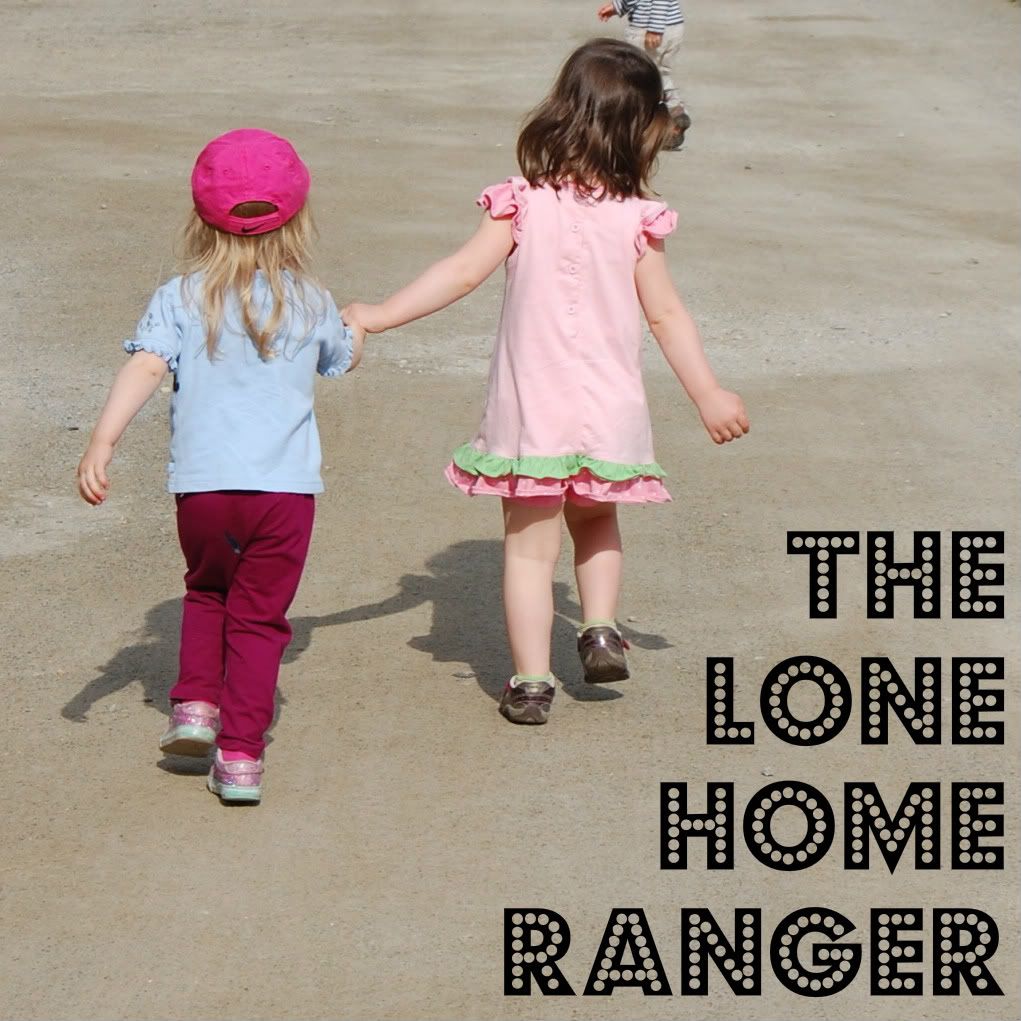
1. Find the picture. I started with this picture of Vivi and her friend Avery at a local farm:

2. Crop picture into a square. I cropped it using iPhoto on my MacBook (Edit>>Crop>>Square), but I'm guessing whatever photo software is on your PC has a similar option.


3. Get a Photobucket account (it's free!) and upload your square image. I resize it at the end so that it's not so small while I'm adding text. Click Edit>>Add Text, which looks like this (click the photo if you want to see a bigger version):

Next, I moved the circle down to the space I wanted it in and added text. See below:

Don't forget to select Transparent Background (see arrow) and then select the text font you want (see oval). I selected "Budmo Jiggler," and I have to admit the name was part of the allure.
Next, resize it by clicking resize, then typing in 125 by 125. See below:

4. Copy Paper Heart Camera's html code using her instructions. See below:

5. Add code to your blog. I only know how to do this in Blogger since they are the hosting service I use, but I'm happy to share how I do it. Go to Layout>>Add a Gadget (click wherever you want to put it, I choose the right sidebar)>>HTML/Javascript.


Don't forget to give it a title. I called mine "Grab a Button!"
6. Marvel at your awesomeness. You did it!
p.s. Yes folks, I realize my post title today was particularly lame, but I must bow to the rulers of SEO who tell me that it's a good idea to make boring post titles every now and then, like when I have some learned wisdom to dispense.


24 comments:
Great post, thanks!
-Audri (Rediscovering Our Family www.rediscoveringourfamily.blogspot.com)
this is a really great tutorial! It took me forever to figure this out when I first started blogging! Thanks for putting so much information together!
I just made a button! Thanks for the excellent instructions!!!! I'm going to be making more. I think it may be a bit addictive : )
Thank you so much For your attractive and informative post.Thanks for contributing your important time to post such an interesting & useful collection.It would be knowledgeable & resources are always of great need to everyone. Please keep continue sharing.
Thank you so much for your attractive and eye catching post. I am very impressed for your Creative tutorial.Thanks for contributing your important time to post such an interesting & useful tutorial. Thanks for sharing
Image Masking
I'm a new blogger. I have seen your post and get experience. Thanks for help me professional work.
clipping path service
deep etching
raster to vector service
At first you said that "A few days ago I would have never thought I'd be sharing my tips on designing anything using a computer". Really It has big loss for me because i don't know about "Transparent Background". Also your tutorial is nice for decorated step by step. Thank you for your wonderful sharing
clipping path service
remove background serviceh
image masking service
jewelry image editing service
ghost-mannequins & neck joint service
Your Blog is beautiful.you are using that is very useful and helpful...
Your design Tutorials is beautiful.you are using that is very useful and helpful.Thanks for sharing a very informative article...
Thanks for the excellent instructions!!!! I'm going to be making more.
Clipping Creations India | ecommerce image editing service
Thank you for your good post
I am really benefit from your Tutorials . I hope, some Tutorials get better futures.Thank you so much dear.
Your designing tutorial is so nice......Thanks for share.
Nice collection of designs, some really inspiring ones there.
image cropping resizing|background removal service | clipping path service|clipping path
Wow!!! amazing collection . Really it was brilliant work. Thanks
http://clippingexpertasia.com/
great tutorial
I just loved it
And I Lenard a new way to edit
Thanks For this Tutorial
clipping path service
deep etch
Thanks a lot for your wonderful ideas.really so needful.Thank you again
So impressed by your post.Very nice idea.Keep sharing more.Thanks
I hope we will get some more tips in future.Thanks
This is just brilliant. Thanks for your ideas.
Thank you so much For your attractive and informative post.Thanks for contributing your important time to post such an interesting & useful collection...
Useful and informative article you have written . Its also effective specially for me . I appreciate this blog
Orbit Graphics is a professional photo editing service providing company. We provide any image editing service. Our popular service includes
clipping path,
image masking
color correction,
image background removal,
image retouching
product photo editing and more.
It's very helpful for us. really you have done a creative work easy for us. now it's net and clear for many beginners. thanks for the information you share.
Post a Comment